Micro-Racer-Guides
Thumbtroller Assembly Procedure
Navigation
⚠️ Safety Warning
Electrostatic sensitive components. Please ensure proper grounding before handling.
What You Need
Tools
- Phillips screwdriver
From the Kit
- 1x Thumbtroller PCB
- 1x Bottom Enclosure
- 1x Top Enclosure
- 1x Battery Holder
- 1x Thumb Cap
- 1x LiPo Battery
- 4x Button Cap
- 5x Self-tapping screw
Assembly Steps
Step 1: Install Battery
Take the 300mAh LiPo Battery provided in the set. Ensure the RED lead is aligned with the (+) on the board. Plug it into the Thumbtroller PCB.
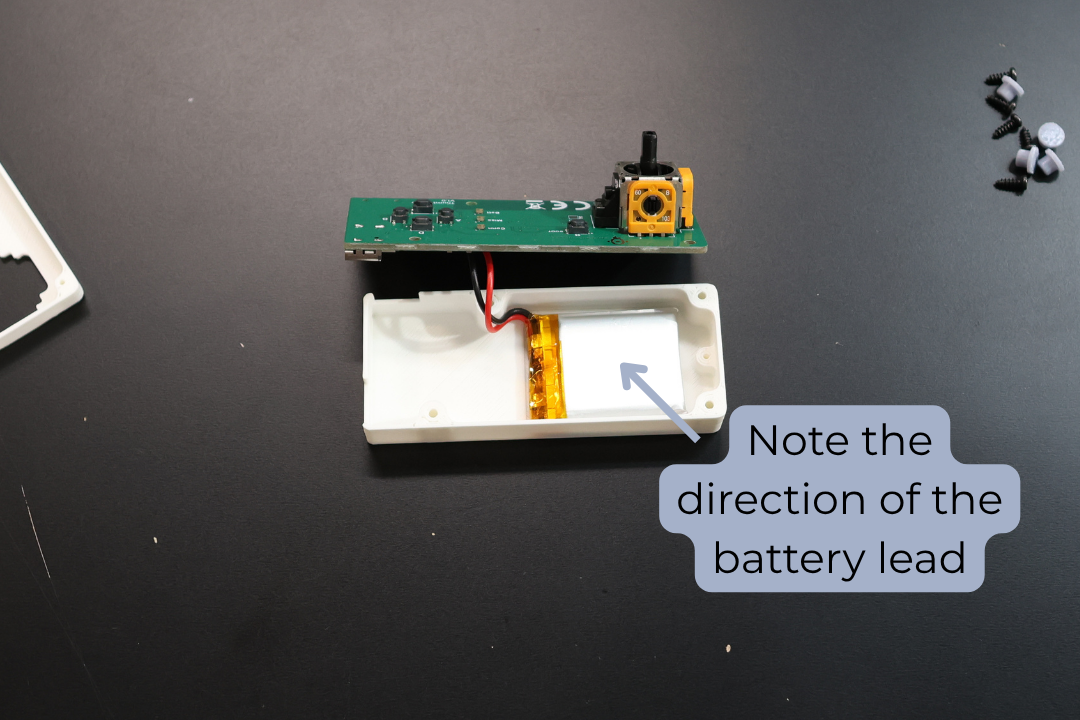
Step 2: Position Battery
Place the battery into the Bottom Enclosure as pictured.
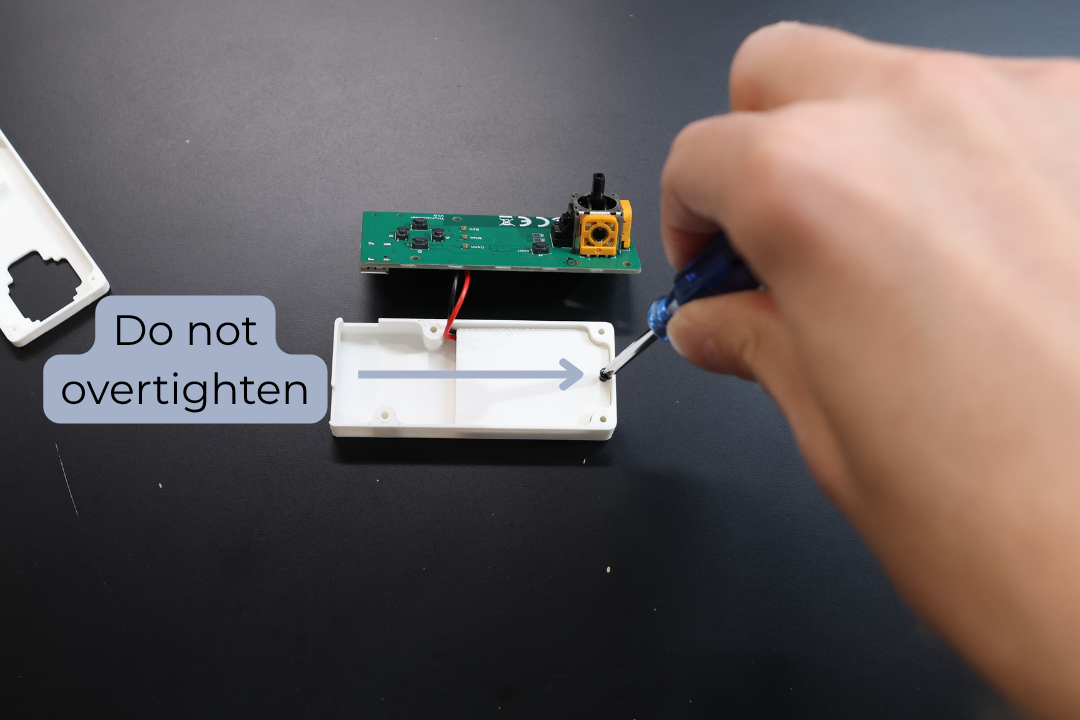
Step 3: Secure Battery
Secure the battery with 1x self tapping screw ensuring the battery wires are not pinched.
NOTE: Do not overtighten
Step 4: Position PCB
Position the Thumbtroller PCB into position.
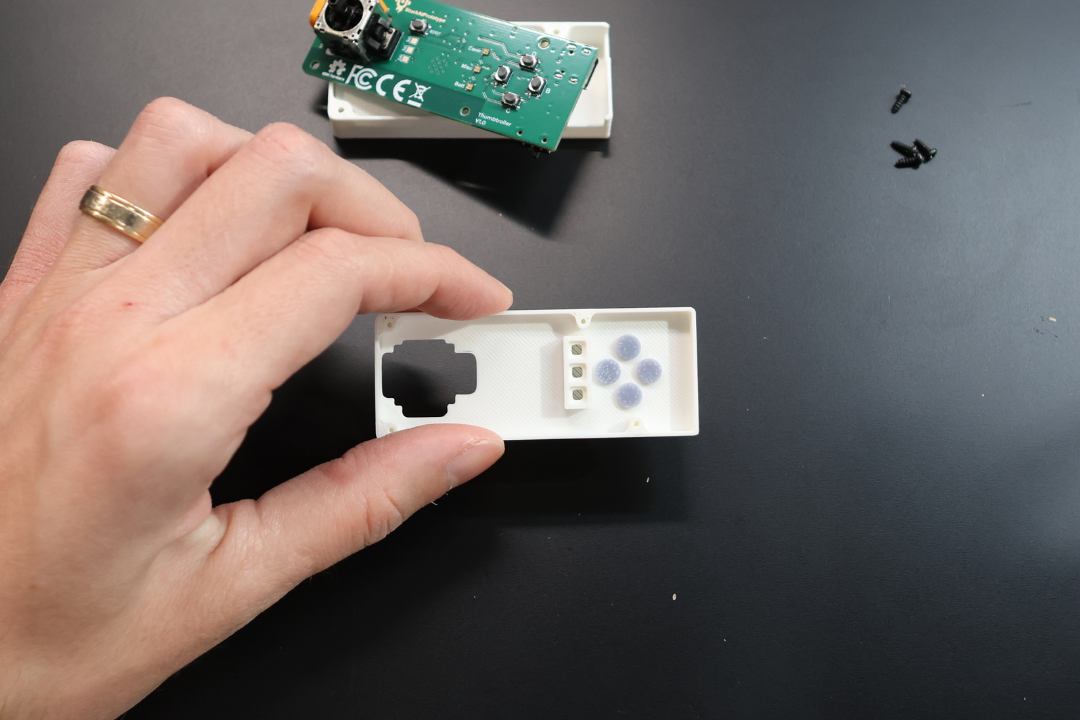
Step 5: Install Button Caps
Insert the 4x Button Caps into the Top Enclosure as pictured.
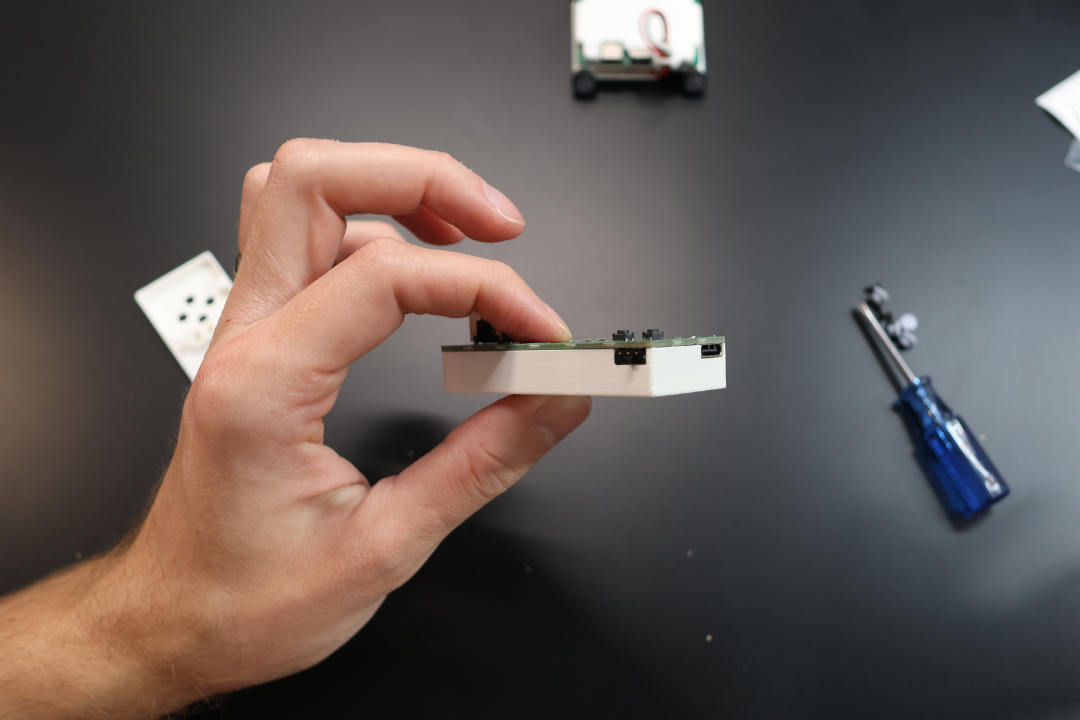
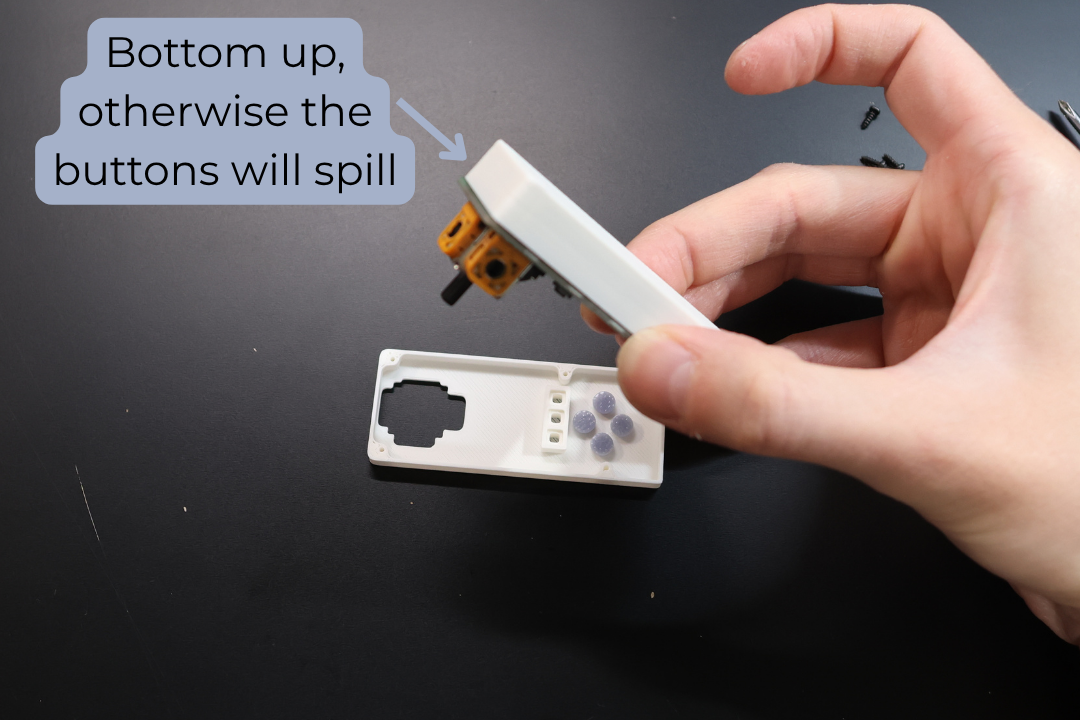
Step 6: Align Enclosures
Carefully flip the Bottom Enclosure together with the PCB onto the Top Enclosure making sure to align the screw holes.
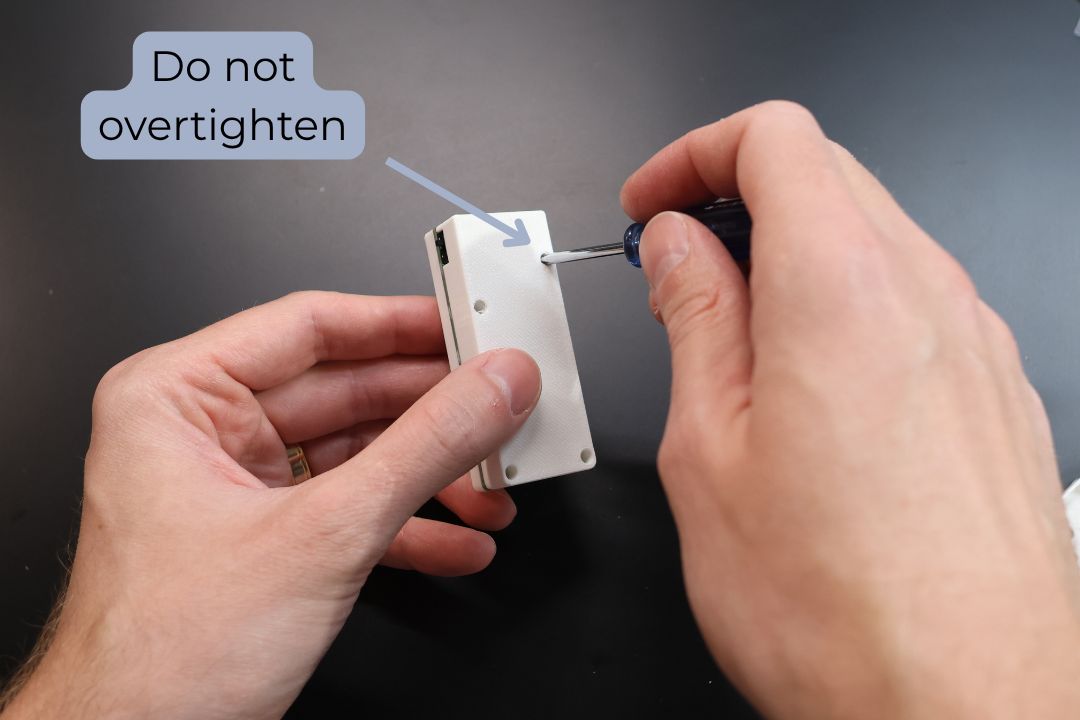
Step 7: Secure Enclosures
Carefully secure the enclosures with 4x self tapping screws.
NOTE: Do not overtighten.
Step 8: Install Thumb Cap
Place the Thumb Cap onto the joystick.

Done! Congrats, you can now use your Thumbtroller.
You can find the Instructions Manual here